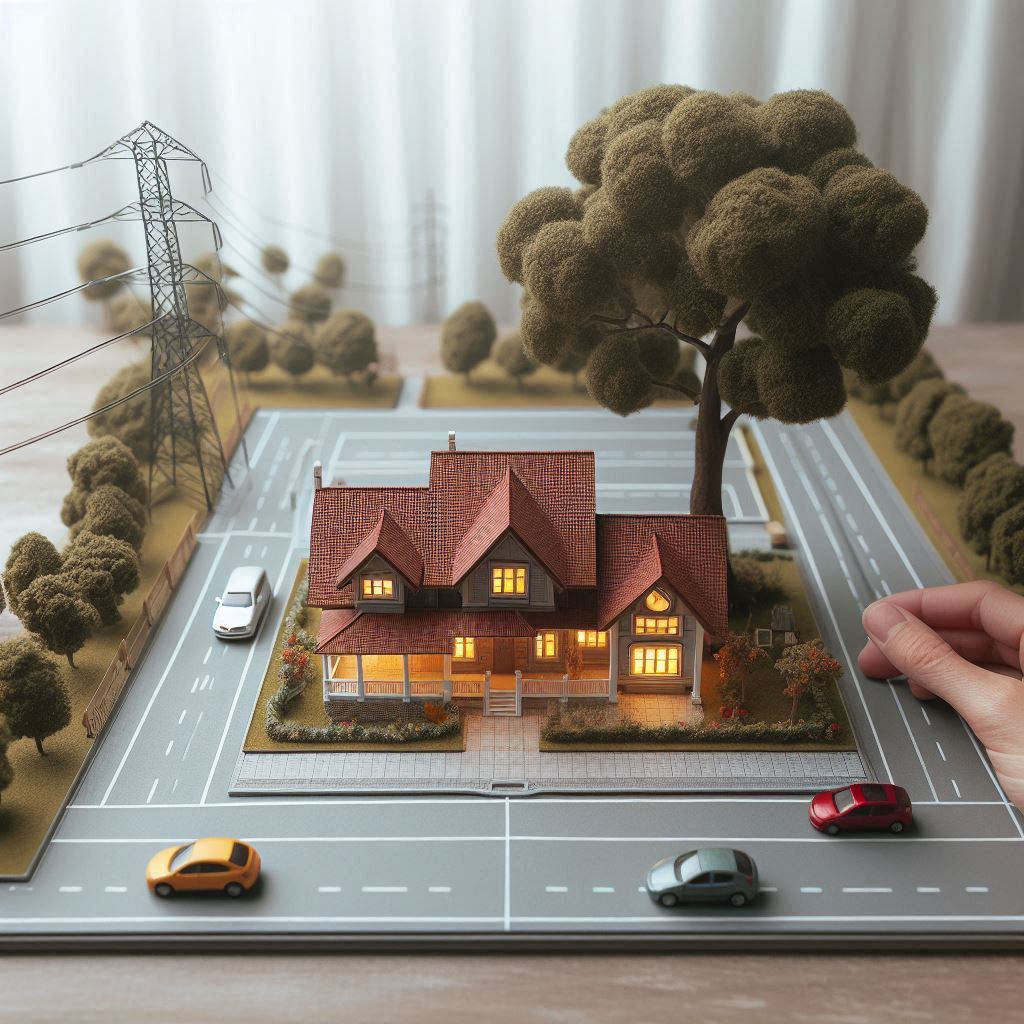
Building a model of a house is an enjoyable and creative project, whether you're working on an architectural model or crafting a miniature for a diorama. Here are the key steps to help you build your own model house:
1. Planning and Gathering Materials
Before jumping into construction, careful planning is essential.
-
Determine the Scale: Decide on the size of your model. Standard scales are 1:50 or 1:100 for architectural models, but you can adjust this based on your needs.
-
Blueprints or Sketches: If you’re working from an existing design, use the house’s blueprints or create your own rough sketches with dimensions. This ensures accuracy when translating the design into a model.
-
Gather Materials:
- Baseboard or foam board for the foundation
- XPS or foam core boards for walls (balsa wood is another option)
- Cutting tools: Hobby knife, X-acto knife, or hot wire foam cutter
- Glue: PVA or wood glue
- Ruler, T-square, and measuring tape for precision
- Paints and finishing materials for the final touches
2. Creating the Base
The base represents the ground the house will stand on and provides stability.
-
Cut the Baseboard: Use a sturdy material like foam board or plywood. This will hold your house and allow you to add landscaping details later if desired.
-
Mark the Foundation: Using a ruler, mark the layout of your house on the baseboard. This includes the outline of walls and rooms.
3. Building the Walls
Now comes the fun part—constructing the walls.
-
Cut Wall Panels: Using your blueprint or sketches, cut out the walls from foam board, balsa wood, or XPS foam. Remember to account for the height of the house and any window or door cut-outs.
-
Cut Out Windows and Doors: Use a sharp hobby knife to cut out windows and doors where needed. You can also add trim or window frames using thin strips of foam or wood for extra detail.
-
Assemble the Walls: Glue the walls together with PVA or foam-safe glue. Be precise to ensure the walls are straight and join at right angles. Using a T-square or ruler helps keep everything aligned.
4. Creating the Roof
The roof adds dimension and completes the basic structure.
-
Design the Roof Shape: Depending on the style of the house, the roof may be gabled, flat, or sloped. Measure and cut roof panels from foam board or thin wood.
-
Cut and Assemble: For gabled roofs, you’ll need to cut triangular panels to match the slope. Glue them to the top of the walls, ensuring everything lines up.
-
Add Roofing Details: You can add shingles or texture to your roof using textured paper, small strips of cardboard, or even sandpaper painted to look like roof tiles.
5. Detailing the Exterior
Add extra details to make your model look realistic.
-
Add Windows and Doors: Use thin plastic or clear acetate for window panes, and paint frames or doors in contrasting colours to make them stand out.
-
Surface Textures: Depending on the material, you may want to add textures to the walls (brick, wood siding, or stucco). This can be done with paint, glue-on textures, or scribed foam.
-
Landscaping: If you want to go the extra mile, add greenery, paths, or fences around the house to complete the scene.
6. Painting and Finishing Touches
Now it’s time to bring your model to life with colours and final details.
-
Base Coat: Start with a base coat of paint to cover the walls, roof, and other large surfaces. Acrylic paints are commonly used for foam or wood models.
-
Highlight Details: Use smaller brushes to add detail work on window frames, doors, and textures. Add shading or weathering to give the house a lived-in look.
-
Attach Roofing Materials: You can glue strips of textured material or individual shingles onto the roof for added realism.
-
Seal It: Use a spray sealer or matte varnish to protect your paint and materials.
7. Adding Interior Features (Optional)
If you’re going for an open or dollhouse-style model, don’t forget the interior.
-
Divide Rooms: Use thin foam or wood panels to create interior walls.
-
Add Furniture and Fixtures: You can either craft tiny furniture yourself or use premade pieces from hobby stores. Painting interior walls or adding wallpaper can bring the inside to life.
8. Final Assembly
Once all the pieces are painted and detailed, it’s time for the final assembly.
-
Attach to the Base: Glue the completed house onto your baseboard. Ensure everything is aligned and level.
-
Secure Roof Panels: Once the interior work is done (if any), attach the roof. You can leave it removable if you want access to the inside later.
-
Check Stability: Make sure everything is securely glued and standing firm.
9. Show it Off!
Your model house is ready! Whether it's a centrepiece for a larger project, a teaching tool, or just a fun hobby, your miniature home will be the star of the show.
By following these steps, you’ll have a model house that not only looks great but is structurally sound and filled with intricate details.

