1/35 Scale Fortress Wall
Materials Required
- 3–4 cm thick XPS foam (recommended) - 30 x 20 cms sheet
- Hobby knife
- Pencil
- Coarse emery/sandpaper
- PVA glue (foam safe)
-
Acrylic paints:
- Black or dark grey
- Light grey
- Brown
- Dry brush
- Static grass

Also see the timelapse video of the build here.
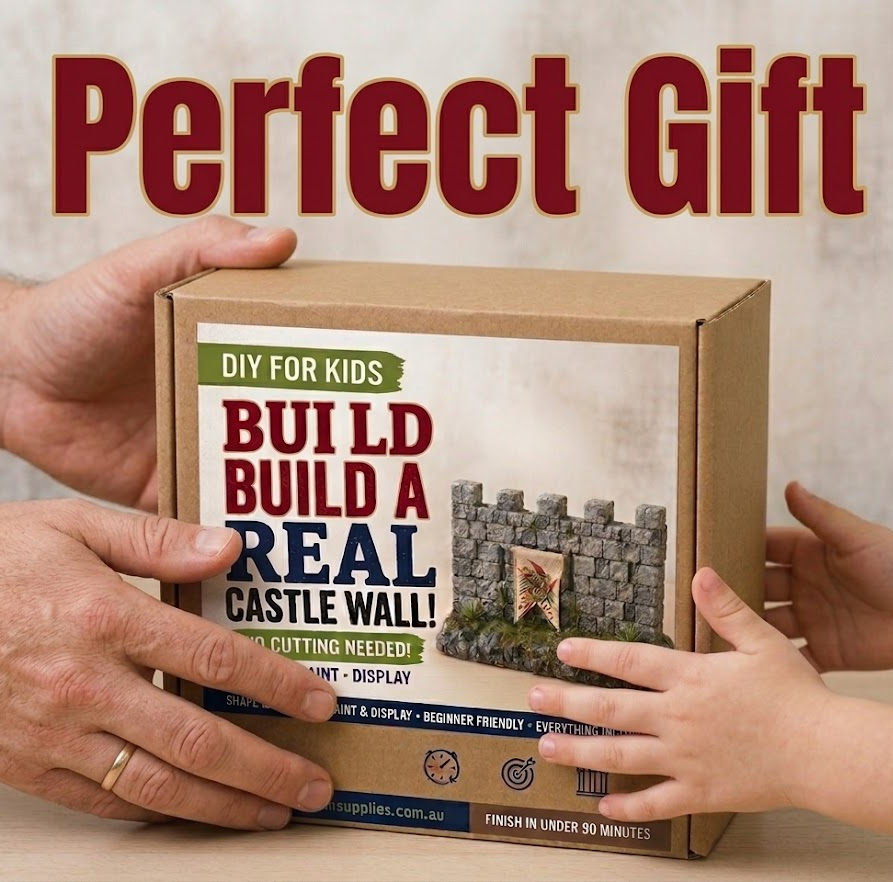
Shop our Easy Build Castle Wall Kit here
Step-by-Step Guide
1.
Take a 30 × 20 cm piece of XPS foam and cut it into two equal 15 × 20 cm sections.
- The first piece will become the wall section — Block A
- The second piece will become the base — Block B
2.
Using a pencil, sketch your desired brick or stone pattern onto Block A.
Then cut the foam into your preferred fortress wall shape, including battlements or top wall blocks if desired.
3.
Using a hobby knife, carefully carve along the pencil lines at roughly a 40-degree angle.
Repeat the cut from the opposite side of the line to create realistic stone indents and separation gaps.
Vary the depth and angle slightly to avoid a uniform appearance and achieve a more natural fortress look.
4.
Lightly score random lines and scratches across the wall surface using very little pressure.
Do not overdo this step, subtle imperfections create the most realistic texture.
Once complete, gently rub the surface with coarse emery/sandpaper to soften the sharp cuts and blend the texture naturally.
Remove any loose foam particles.
5.
Take Block B (the base) and slightly round off the top edges and corners using the hobby knife.
Add rough random indentations and surface damage to create natural ground texture.
Lightly sand the surface with coarse emery to blend the texture.
Remove any loose foam particles.
6.
Using foam-safe glue such as PVA, attach Block A perpendicular onto Block B to form the fortress wall structure.
Allow sufficient drying time before painting.
7.
Mix black or dark grey acrylic paint with approximately 20% water.
Apply thoroughly across the entire model, ensuring no exposed foam remains visible.
Allow to dry completely.
8.
Using a dry brush technique, lightly apply light grey acrylic paint across the raised surfaces.
Do not force paint into the gaps, the darker basecoat should remain visible in the recesses.
This creates realistic stone depth and contrast.
9.
Repeat the dry brushing process using brown paint, but with even lighter pressure.
Focus on random areas to simulate dirt, age, and weathering.
This step is where artistic experimentation really helps bring the wall to life.
10.
To visually separate the ground from the wall, apply slightly more brown tones to the base section.
11.
Once fully dry, apply a thin layer of PVA glue where the wall meets the base.
Carefully sprinkle static grass onto the glued areas.
Using multiple shades of grass will create a more realistic finish.
12.
Allow the glue to dry fully, then gently blow or brush away excess grass.
13.
For additional detail, you can add:
- miniature flags
- shields
- barrels
- crates
- torches
- moss or vines
These small additions can dramatically improve realism and storytelling.
Also see the timelapse video of the build here.
Shop our Easy Build Castle Wall Kit here
Finished!
Your 1/35 scale fortress wall is now ready to defend your soldiers from the enemy.
Or perhaps fall gloriously during battle.