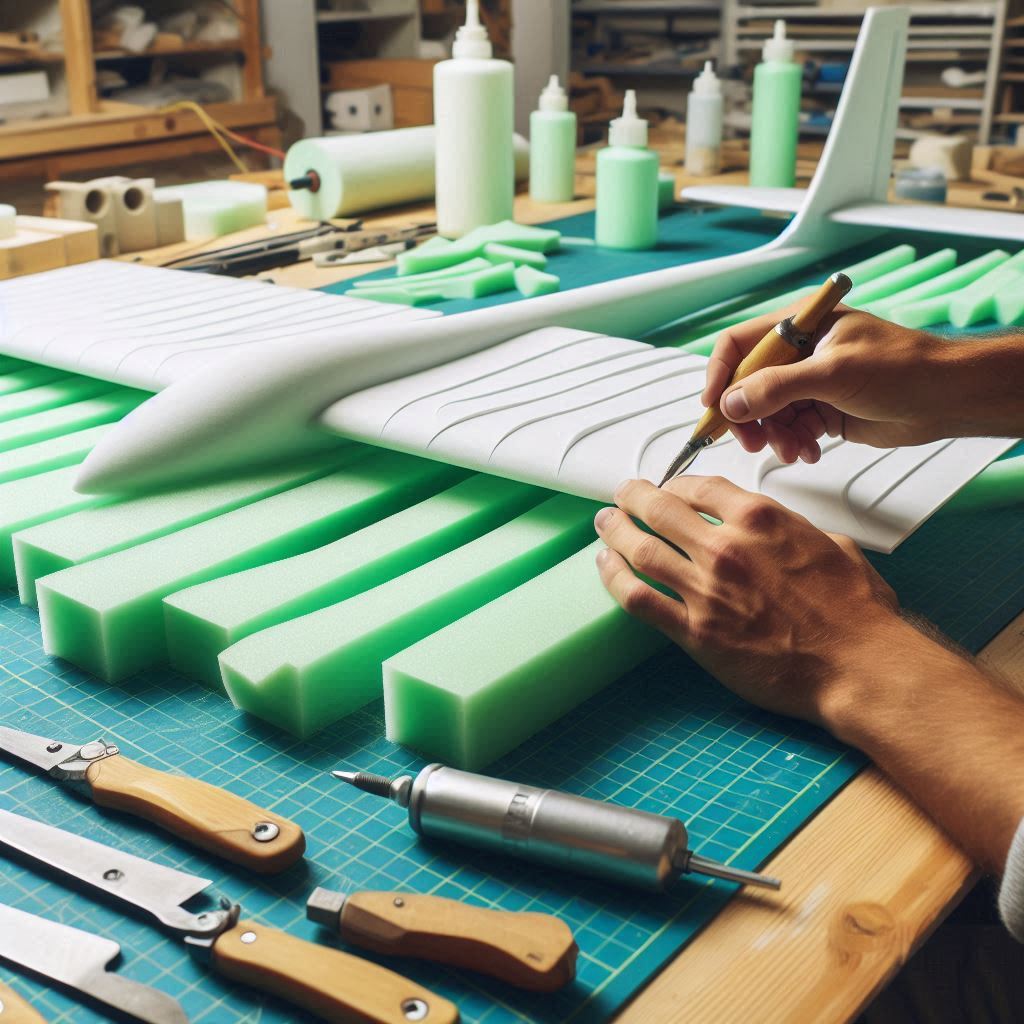
Building an RC Model Aircraft with XPS Foam: A Comprehensive Guide ✈️
Constructing an RC model aircraft using Extruded Polystyrene (XPS) foam offers a rewarding blend of creativity and engineering. This guide provides detailed steps for crafting your aircraft, from planning to your maiden flight, with a focus on the versatility and benefits of XPS foam.
- Understanding XPS Foam 🧐
What is XPS Foam?
Extruded Polystyrene (XPS) foam is a lightweight, rigid insulation material commonly used in construction. Its structural integrity and ease of shaping make it ideal for RC model aircraft. Key advantages include:
- High strength-to-weight ratio
- Smooth surface for easy finishing
- Good insulation properties
- Affordable and widely available
- Planning Your Build 📐
Choosing Your Aircraft Design
Select a design based on your experience level and desired aircraft performance:
- Park Flyers: Simple, small planes for beginners.
- Gliders: Lightweight models designed for unpowered flight.
- Scale Models: Detailed replicas for experienced builders.
Gathering Materials
For building with XPS foam, you'll need:
- XPS Foam Sheets: Available in 1/2" to 2" thickness.
- Cutting Tools: Hot wire cutter, utility knife, or X-Acto knife.
- Adhesives: Foam-safe CA glue or epoxy.
- Reinforcements: Carbon fiber rods or balsa wood.
- Covering Material: Fiberglass cloth, packing tape, or heat-shrink film.
- Electronics: Motor, ESC, servos, receiver, battery, and transmitter.
- Miscellaneous: Sandpaper, rulers, pencils, and safety gear (mask, goggles).
- Creating the Airframe ✂️
Designing and Cutting
- Draft Your Plans:
- Draw your aircraft design or download plans. Trace shapes onto XPS foam sheets.
- Cutting the Foam:
- Hot Wire Cutter: For smooth, intricate cuts.
- Utility or Craft Knife: For straight cuts and simple shapes.
- Layering Technique: For complex shapes, use multiple foam layers. Glue and sand to final shape.
- Shaping the Fuselage:
- Build Up the Structure: Glue foam pieces for the fuselage. Sand for smooth contours.
- Internal Cavities: Ensure space for electronics.
- Forming the Wings:
- Cut to Shape: Trace and cut the wing profile.
- Create Airfoils: Shape wings with rounded leading edges and tapered trailing edges. Add washout for stability.
- Internal Reinforcement: Insert carbon fiber rods or spars.
- Constructing the Tail:
- Cut Tail Surfaces: Trace and cut the stabilisers.
- Attach to Fuselage: Align properly with the wings.
Assembly
- Join the Wings and Fuselage:
- Dry Fit First: Check fit before gluing.
- Glue Together: Reinforce with spars if needed.
- Attach the Tail: Ensure proper alignment.
- Installing Electronics 🔧
Motor and ESC
- Mount the Motor:
- Motor Mount: Use a plywood mount. Ensure proper thrust alignment.
- Cooling Considerations: Design openings or vents for cooling.
- Install the ESC:
- Position Near Motor: Place with good airflow.
- Connect Wires: Follow instructions for connections.
Servos and Control Surfaces
- Mounting Servos:
- Cut Slots: Embed servos near control surfaces.
- Secure in Place: Use hot glue or foam-safe adhesive.
- Control Linkages:
- Connect Rods: Attach rods from servos to control horns.
- Adjust Travel: Ensure free movement and centered surfaces.
Receiver and Battery
- Install Receiver:
- Central Placement: Secure with Velcro or tape.
- Route Antenna: Follow guidelines to avoid interference.
- Mount Battery:
- Secure with Strap or Velcro: Ensure firm hold and easy removal.
- Balance CG: Adjust position to achieve proper balance.
- Center of Gravity (CG) ⚖️
Why CG is Important
The Center of Gravity (CG) is crucial for stable flight. It is the point where your aircraft balances horizontally and affects pitch stability. An improper CG can lead to:
- Nose-Heavy Aircraft: Difficult to pitch up, stable but sluggish.
- Tail-Heavy Aircraft: Overly sensitive, prone to stalls, difficult to control.
Determining the CG Location
- Consult Plans:
- The recommended CG position is usually provided in the aircraft plans. It’s often a percentage of the wing chord, typically around 25-33% from the leading edge.
- Calculate CG:
- For rectangular wings: Measure from the leading edge back to 25-33% of the wing’s chord.
- For tapered wings: Use a CG calculator or measure along the mean aerodynamic chord.
Balancing the Aircraft
- Initial Setup:
- Place the aircraft on a balance stand or suspend it with your fingers at the estimated CG point.
- Adjustments:
- Forward CG: Move the battery forward or add weight to the nose.
- Rearward CG: Move the battery backward or add weight to the tail.
- Fine-Tuning:
- Flight Testing: Conduct test flights and adjust the CG based on flight characteristics.
- Check Balance: Ensure the aircraft remains balanced with the battery in its compartment.
CG Test Tip: A simple CG test is to hold the aircraft by its wingtips with your fingers at the CG mark. The aircraft should balance level or slightly nose down.
- Wingspan and Aspect Ratio 🌟
Understanding Wingspan and Aspect Ratio
- Wingspan: The distance from wingtip to wingtip.
- Aspect Ratio (AR): The ratio of the wingspan to the average wing chord (width). It influences aerodynamic efficiency and handling characteristics.
Aspect Ratio (AR)=Wingspan2Wing Area\text{Aspect Ratio (AR)} = \frac{\text{Wingspan}^2}{\text{Wing Area}}Aspect Ratio (AR)=Wing AreaWingspan2
High Aspect Ratio:
- Longer Wingspan: Found in gliders and sailplanes.
- Benefits: Higher efficiency, better glide performance, less drag.
- Drawbacks: Reduced roll rate, more complex structure.
Low Aspect Ratio:
- Shorter Wingspan: Found in sport planes and aerobatic models.
- Benefits: Increased maneuverability, faster roll rate.
- Drawbacks: More drag, less efficient at slow speeds.
Choosing the Right Aspect Ratio
- Gliders and Sailplanes:
- Higher AR (10:1 or more): Provides good lift-to-drag ratio for gliding.
- Example: A wingspan of 2 meters with a chord of 20 cm yields an AR of 10:1.
- Park Flyers and Trainers:
- Moderate AR (6:1 to 8:1): Balance between stability and maneuverability.
- Example: A wingspan of 1.2 meters with a chord of 15 cm gives an AR of 8:1.
- Sport and Aerobatic Planes:
- Lower AR (4:1 to 6:1): Provides agility and quick response.
- Example: A wingspan of 1 meter with a chord of 20 cm results in an AR of 5:1.
Optimising Your Design
- Planform Shape:
- Elliptical and Tapered Wings: Reduce induced drag, commonly used in higher-performance aircraft.
- Rectangular Wings: Easier to build and more predictable, good for trainers and park flyers.
- Wing Loading:
- Calculate Wing Area: Multiply wingspan by average chord.
- Determine Wing Loading: Divide the aircraft’s weight by wing area to understand flight characteristics.
- Finishing Touches 🎨
Covering and Painting
- Apply Covering:
- Fiberglass Cloth: Lay over foam and apply resin.
- Packing Tape: Quick and light solution.
- Heat-Shrink Film: For a professional finish.
- Painting:
- Foam-Safe Paint: Use acrylic or latex-based paints. Apply light coats.
- Detailing: Add decals and fine details.
Balancing and Testing
- Check CG: Ensure proper balance.
- Control Surface Alignment: Verify movement and neutral position.
- Maiden Flight 🌟
Pre-Flight Checks
- Range Test: Ensure reliable communication.
- Control Surface Check: Confirm movements.
First Flight Tips
- Weather Conditions: Choose calm days.
- Throttle Management: Increase throttle gradually.
- Gentle Maneuvers: Start with gentle turns.
Conclusion ✈️
Building an RC model aircraft from XPS foam is a fulfilling project that combines creativity with engineering. From drafting plans and precise construction to optimising CG and wingspan ratios, each step ensures a successful flight. Enjoy the building process and the excitement of flying your handcrafted aircraft!

