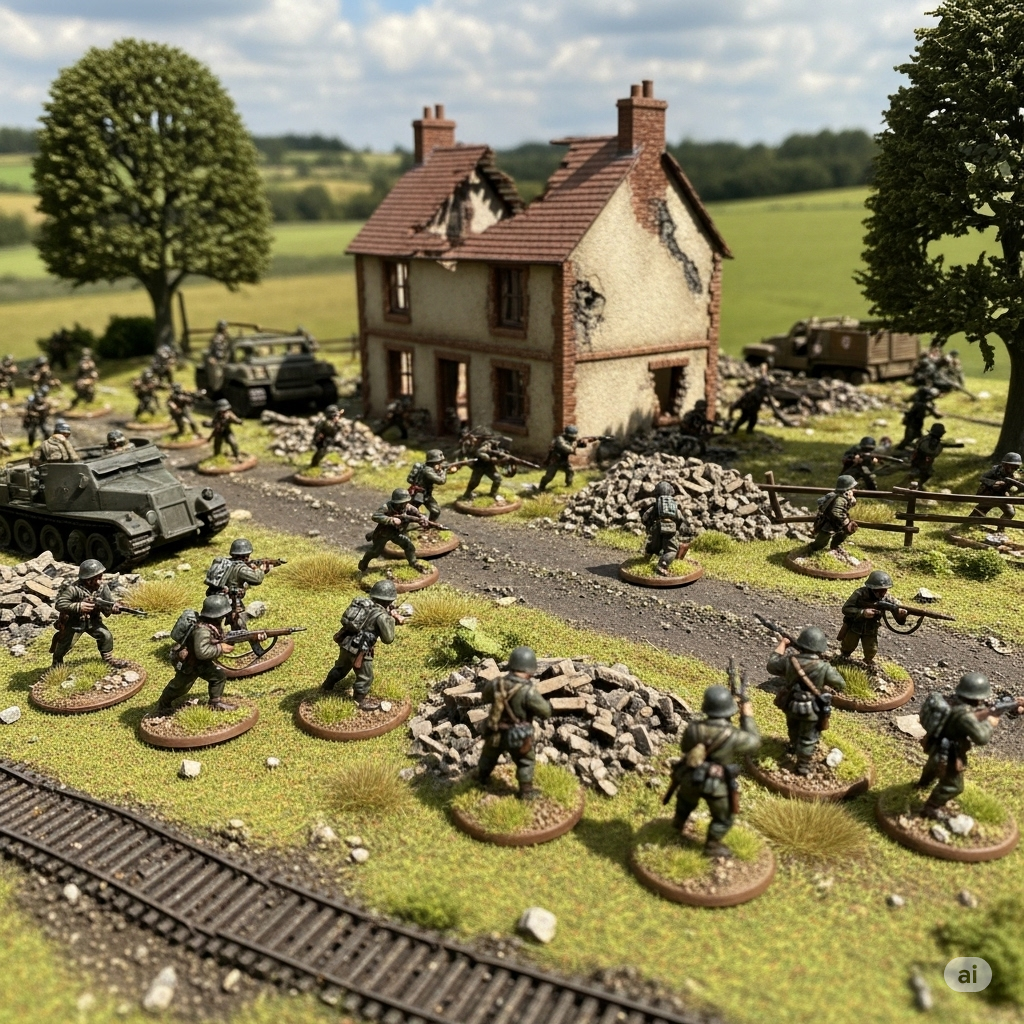
Ultimate Step-by-Step Guide to Building a Military / Wargaming Diorama
Step 1: Concept and Planning
-
Choose your theme and scenario: Historical battles (e.g., Normandy 1944), fictional engagements, or modern conflicts.
-
Determine scale: Popular scales include 1:35 (large, highly detailed), 1:72 (smaller, table top friendly), 1:48, or even 15mm/28mm for table top gaming miniatures.
-
Research extensively: Gather reference photos, maps, battle reports, and uniform/vehicle specs for accuracy.
-
Sketch your layout: Roughly map terrain features, model placements, and focal points. Consider line-of-sight and gameplay flow if it’s for wargaming.
-
Budget and time estimate: Dioramas can get expensive and time-consuming, so plan accordingly.
Step 2: Selecting and Preparing the Base
-
Materials: Use plywood, MDF, thick foam board (XPS foam), or even a lightweight plastic base. For gaming, modular or portable bases may be useful.
-
Size considerations: Depends on table size and scale of your scene; common sizes range from 12”x12” (30x30cm) to much larger.
-
Edge finishing: Paint or frame the edges of the base to give a polished look. Black or dark brown usually works well.
Step 3: Sculpting Terrain
-
Core materials:
-
Foam sheets (extruded polystyrene, XPS) for hills and raised areas — easy to carve.
-
Expanding foam spray for bulk shaping and creating uneven terrain.
-
Plaster or modelling clay for fine surface texturing.
-
Paper mache or cardboard for ruins or structural bases.
-
-
Techniques:
-
Carve trenches, craters, and embankments carefully with hobby knives or hot wire cutters.
-
Use reference photos to replicate realistic terrain features.
-
Seal foam with PVA glue or a diluted white glue coat to strengthen before painting.
-
Step 4: Ground Texture and Surface Detailing
-
Painting base layers: Use matte acrylic paints in earthy tones — browns, ochres, greys. Use an airbrush or large brush for smooth, even coverage.
-
Adding texture:
-
Glue fine sand, gravel, or textured paint (e.g., Vallejo Texture Paints) on the terrain for rough ground.
-
Use static grass or flock for grass tufts and undergrowth. Apply with a static grass applicator for vertical grass effects.
-
Scatter small twigs, dried moss, or commercial foliage for bushes and shrubs.
-
-
Mud, water, and snow effects:
-
Use acrylic gel mediums or resin for water puddles or mud.
-
Apply snow effect powders or white acrylic mixed with baking soda for snowy terrain.
-
-
Roads and paths: Paint and texture with fine gravel, dirt, or sand, blending smoothly with surrounding terrain.
Step 5: Model Assembly and Painting
-
Kit preparation:
-
Clean and remove flash (excess plastic/resin) using hobby knives or files.
-
Test fit parts before gluing to avoid gaps.
-
-
Priming: Use spray primers designed for plastic or resin models; grey or black primers help highlight details.
-
Painting:
-
Use acrylic or enamel model paints; acrylics dry faster and are easier to clean. Brands like Vallejo, Tamiya, Citadel, or AK Interactive are popular.
-
Thin your paints to avoid obscuring detail.
-
Employ layering techniques — base coat, shading (washes), highlighting (dry brushing).
-
Airbrushing is excellent for smooth base coats and subtle gradients.
-
-
Detailing figures: Pay attention to uniform colours, insignia, weapon details, and facial features if scale permits.
-
Decals and markings: Apply decals for vehicle numbers, flags, or unit insignia using decal softeners to conform to surfaces.
Step 6: Weathering and Battle Damage
-
Weathering powders and pigments: Use pastel chalks or commercial weathering pigments to add dust, dirt, and rust. Fix with pigment fixer or matte varnish.
-
Washes and filters: Thin paint washes to accentuate panel lines, crevices, and details.
-
Chipping effects: Use sponge technique or fine brush to simulate paint chips exposing metal underneath. Use silver or rust-coloured paints.
-
Rust and corrosion: Apply rust pigments or acrylic washes, focusing on exhausts, joints, and damaged areas.
-
Mud splatter: Use thickened paint or textured pastes flicked onto lower vehicle parts and wheels.
-
Battle damage: Drill tiny holes for bullet impacts, add cracks or dents with sculpting putty or a hobby knife. Use black or dark brown washes to deepen damage areas.
Step 7: Placing Models and Figures on Terrain
-
Secure positioning: Use cyanoacrylate glue (super glue) or epoxy to fix models firmly.
-
Dynamic posing: Position soldiers and vehicles to convey action — running, aiming, or engaging in combat.
-
Layering: Place models strategically to create depth and draw the eye through the scene.
-
Interaction: Create believable interactions like soldiers using cover or tanks firing.
-
Balance: Avoid overcrowding; negative space helps focus attention on key elements.
Step 8: Adding Accessories and Details
-
Scatter terrain: Small rocks, spent shell casings, barbed wire (fine wire or commercial kits), broken crates, fuel barrels.
-
Structures: Ruined buildings, bunkers, sandbags made from resin kits, foam, or sculpted putty.
-
Foliage and trees: Use commercial tree kits or craft your own from wire armatures and foliage material.
-
Smoke and explosion effects: Cotton wool or synthetic fibres, teased out and airbrushed with grey or black paint.
-
Signs and flags: Print or buy miniature signs, flags, or banners to add narrative context.
Step 9: Finishing Touches and Protection
-
Final weathering blend: Use dry brushing and filters to unify terrain and models visually.
-
Seal everything: Apply a clear matte varnish spray to protect paint and textures from handling damage. Test sprays on samples first to avoid unwanted sheen or discoloration.
-
Lighting considerations: If displaying under lights, consider adding subtle LED effects like flickering fires or headlights.
Step 10: Display and Maintenance
-
Display cases: Acrylic or glass display boxes protect from dust and accidents while enhancing presentation.
-
Modular dioramas: If you want flexibility, create dioramas in sections for easier transport and storage.
-
Cleaning: Use soft brushes or compressed air to remove dust carefully; avoid water or solvents on finished surfaces.
-
Documentation: Photograph your diorama from multiple angles for portfolio, sharing online, or contest submission.
Bonus Tips for Wargamers
-
Modularity and gameplay: Design terrain and models so they can be moved or re-arranged for different scenarios.
-
Base edging and labels: Use coloured bases or labels to designate factions or control points in gaming.
-
Durability: Use sturdy materials and strong adhesives, especially for gaming surfaces that see frequent handling.
-
Scale consistency: Ensure all elements—figures, vehicles, terrain—are the same scale for immersion and gameplay balance.

